Installation
1.) Clone the Repository
shell
git clone https://github.com/shopware/swagsalesagent.git
cd swagsalesagent
2.) Create a .env
File
- Use the provided
.env.template
file as an example.
shell
cp .env.template .env
- Fill in the required details in the
.env
file. See the [table](../#.env properties) below for a detailed explanation of the properties.
3.) Set Up Shopware
- Go to the Shopware instance you want to use.
- Go to the storefront sales channel, scroll down, and copy the API Access Key. Add this key to your
.env
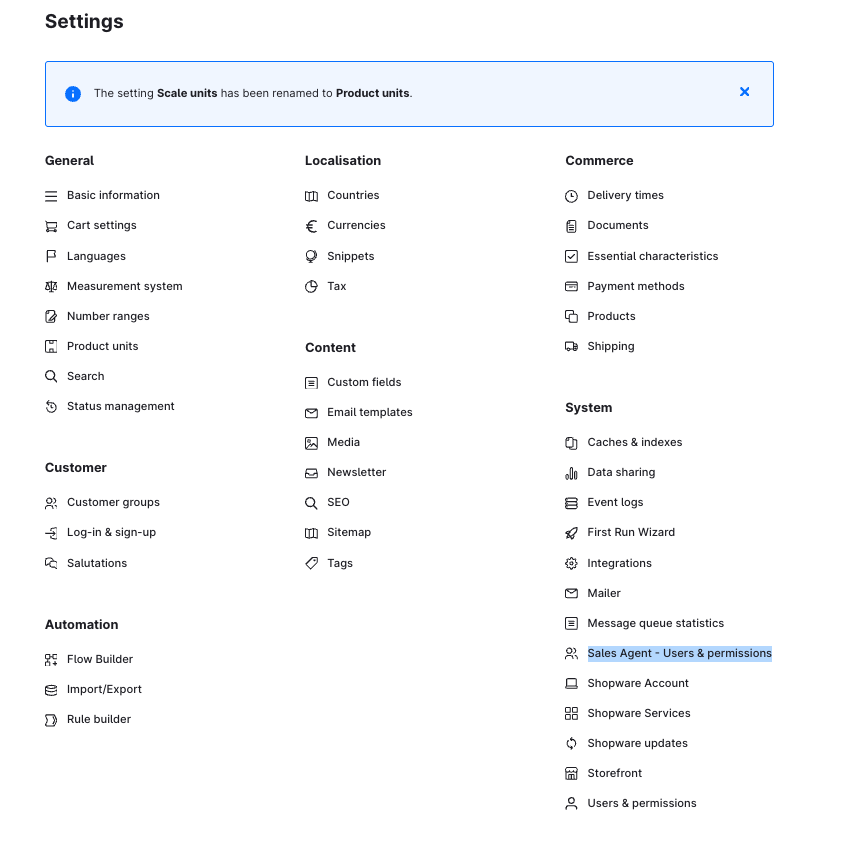
file. - Go to Admin > Settings > Integrations, add a new Integration and assign a role that has at least the following permissions:
- Write permission for Orders
- View permission for Sales Channels
- View permission for Customers
- Copy the secrets into your
.env
file.
4.) Install dependencies
shell
pnpm install --frozen-lockfile --prefer-offline
5.) Run the Development Server
shell
pnpm run dev
Docker setup
Alternatively, you can also use docker to install and start the application.
shell
docker compose up
.env Properties
Property | Description |
---|---|
AUTH_ORIGIN | The base URL for the authentication server. This is the host for redirects during user authentication. |
SHOPWARE_STORE_API | The base URL for the Shopware store API. Replace hostname with your actual Shopware Store-API URL. This can be found in your sales channel configuration. |
SHOPWARE_STORE_API_ACCESS_TOKEN | The access token for the Shopware store API. Obtain this from your Shopware instance. |
SHOPWARE_ADMIN_API | The base URL for the Shopware Administration API. Replace hostname with your actual Shopware Administration API URL. |
SHOPWARE_ADMIN_API_CLIENT_ID | The client ID for the Shopware Administration API. Create an integration in Shopware Administration to get this. |
SHOPWARE_ADMIN_API_CLIENT_SECRET | The client secret for the Shopware Administration API. Create an integration in Shopware Administration to get this. |
SHOPWARE_STOREFRONT_URL | The base URL for the Shopware storefront. Replace hostname with your actual Shopware storefront URL. |
SHOPWARE_CDN_URL | The base URL for the Shopware CDN. Replace hostname with your actual Shopware CDN URL. |
API_AUTH_SECRET_KEY | Provide your own arbitrary key here. This is used for authenticating requests against server-side endpoints (e.g. creating users). |
STORAGE_DRIVER | The storage driver to use in production. Please refer to the Deployment section. |
STORAGE_HOST | The storage host to use in production. Please refer to the Deployment section. |
STORAGE_PORT | The storage port to use in production. Please refer to the Deployment section. |
STORAGE_PASSWORD | The storage password to use in production. Please refer to the Deployment section. |
STORAGE_TLS | Use TLS for storage communication in production. Please refer to the Deployment section. |
Local SSL setup
To set up SSL for local development, follow the below steps:
- Install
mkcert
(or similar tools) - Inside the SalesAgent directory, run
mkcert localhost
. This will generate a key pair in your current directory. - Run
NODE_TLS_REJECT_UNAUTHORIZED=0 nuxt dev --host=localhost --https --ssl-cert 'localhost.pem' --ssl-key 'localhost-key.pem'
INFO
You can also replace localhost with any IP address or domain name, for example, if you want to test this application from different devices over your local network.