Store API Guide
Overview
In this guide, we'll explore the Shopware Store API using different examples.
If you want to understand what the goal of it is and how it's built - go to out the concepts section
Go to the Store API reference to see a structured list of endpoints, parameters and responses.
In the upcoming sections we'll discuss usage scenarios of the Store API and you'll learn how to:
- Authenticate against the API
- Register and log in a customer
- Perform product searches and fetch product listings
- Use the cart
- Create an order
- Handle payment transactions
If you want to follow along this guide, it is useful to use an API client like Postman or Insomnia. You can also go along writing your custom script in Javascript, PHP or whatever programming language you're familiar with.
General
The Store API has a base route which is always relative to your Shopware instance host. Note that it might differ from your sales channel domain. Let's assume your Shopware host is
https://shop.example.com/then your Store API base route will be
https://shop.example.com/store-api/v3The Store API offers a variety of functionalities referred to as endpoints or nodes, where each has their own route. The endpoints mentioned subsequently are always relative to the API base route.
Authentication and setup
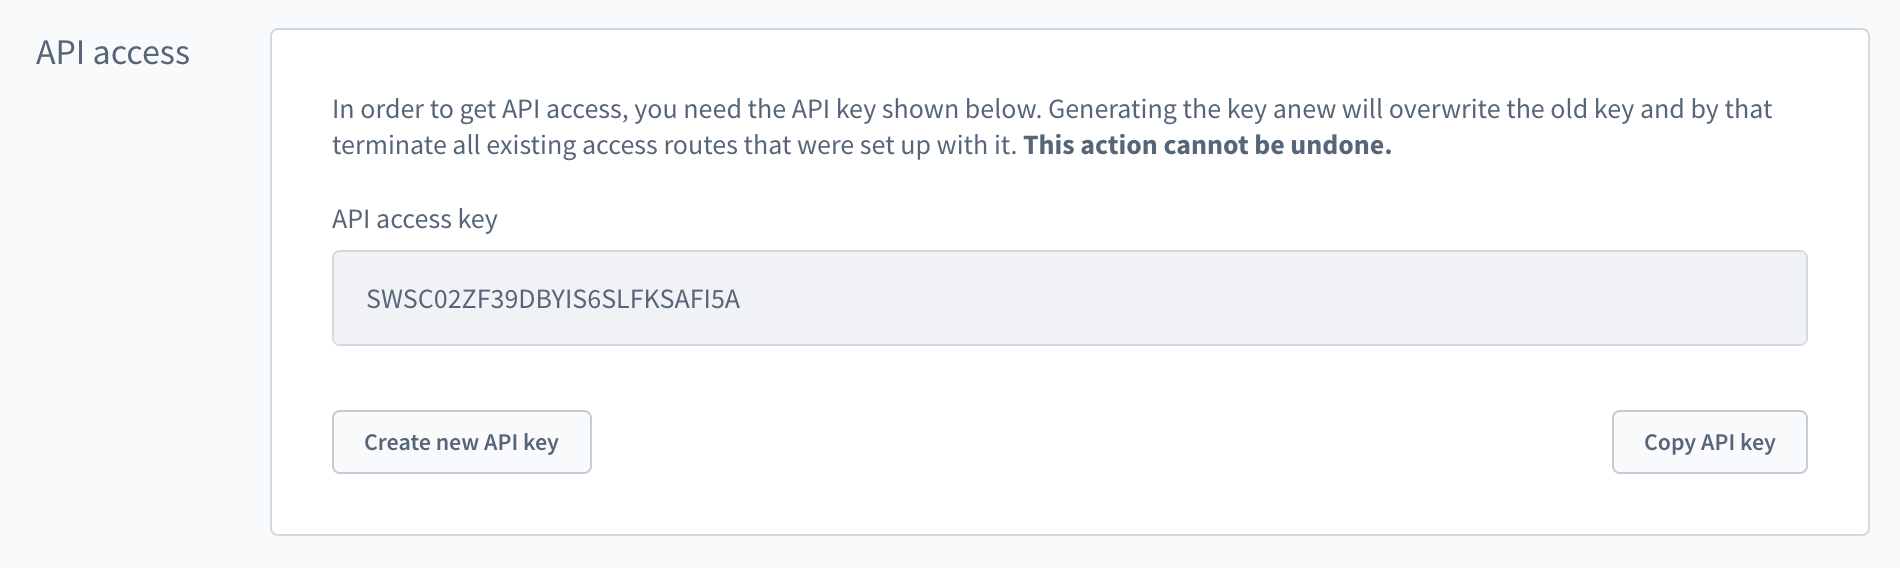
The Store API doesn't have a real authentication - it is a public API - just as any shop frontend is public to its visitors. However we have to pass some type of identification so Shopware is able to determine the correct sales channel for the API call. This identification is the sw-access-key . It is sent as a HTTP header. You can find the correct access key within your admin panel's sales channel configuration in a section labeled API Access
A typical Store API request including headers will look like this
// POST /store-api/v3/product HTTP/1.1
// Host: shop.example.com
// sw-access-key: SWSC02ZF39DBYIS6SLFKSAFI5A
// Content-Type: application/json
// Accept: application/json
// Content-Length: 134

{
  "associations": {
    "media": {}
  },
  "includes": {
    "media": ["url"]
  }
}
The following examples will skip all the headers and simply show the request URL and the response.
Now that we've authenticated we're able to perform our first request
Fetch the context
The /context endpoint gives some general information about the store and the user. Let's try it out
// GET /store-api/v3/context

{
  "token": "jDUPcIRg1Mi7WZQJAm1nFTqhoMc0Eqev",
  "currentCustomerGroup": { ... },
  "fallbackCustomerGroup": { ... },
  "currency": { ... },
  "salesChannel": { ... },
  "taxRules": [ ... ],
  "customer": null,
  "paymentMethod": { ... },
  "shippingMethod": { ... },
  "shippingLocation": { ... },
  "rulesIds": [ ... ],
  "rulesLocked": false,
  "permissions": [ ... ],
  "permisionsLocked": false,
  "apiAlias": "sales_channel_context"
}
The full response is too big to be included in here - but we already have a lot of things to work with. For example the current sales channel, the selected currency or the customer group.
In a later section we'll also see how we can make changes to the context - e.g. changing the selected shipping method or the language.
But for now let's leave it here - as you can see above, the customer field is still empty. Time to change that.