
Storyblok Integration


Storyblok is a headless CMS that can be easily integrated into any Nuxt 3 application. On this page we explain the basics of how to integrate it into our vue-blank template.
Step by step guide
- Checkout the vue-blank template
pnpx tiged shopware/frontends/templates/vue-blank vue-blank-storyblok && cd vue-blank-storyblok - Install the dependencies and run the dev server
pnpm i && pnpm run dev - Install the storyblok nuxt module
pnpx nuxi@latest module add storyblok - Install the storyblok vue dependency
pnpm add @storyblok/vue -D - Now add the storyblok access token to you
nuxt.config.tsfile (you need a storyblok account to get that token)
import { defineNuxtConfig } from "nuxt/config";

export default defineNuxtConfig({
  modules: ["@shopware/nuxt-module", "@storyblok/nuxt"],
  storyblok: {
    accessToken: "super-secret-token",
  },
});
In the root directory of your project create a
storyblokfolder.Let's create our base components files inside our
vue-blank-storyblok/storyblokfolderFeature.vue
<script setup>
defineProps({ blok: Object });
</script>

<template>
  <div v-editable="blok" class="py-2" data-test="feature">
    <h1 class="text-lg">{{ blok.name }}</h1>
  </div>
</template>
Grid.vue
<script setup>
defineProps({ blok: Object });
</script>

<template>
  <div v-editable="blok" class="flex py-8 mb-6" data-test="grid">
    <div v-for="blok in blok.columns" :key="blok._uid" class="flex-auto px-6">
      <StoryblokComponent :blok="blok" />
    </div>
  </div>
</template>
Page.vue
<script setup>
defineProps({ blok: Object });
</script>

<template>
  <div v-editable="blok" class="px-6" data-test="page">
    <StoryblokComponent
      v-for="blok in blok.body"
      :key="blok._uid"
      :blok="blok"
    />
  </div>
</template>
Teaser.vue
<script setup>
defineProps({ blok: Object });
</script>

<template>
  <div
    v-editable="blok"
    :cat="$attrs.cat"
    class="py-8 mb-6 text-5xl font-bold text-center"
    data-test="teaser"
  >
    {{ blok.headline }}
  </div>
</template>- Change the
app.vuefile, we adding theNuxtLayoutandNuxtPagecomponents.
<script setup lang="ts">
import { onMounted, useSessionContext } from "#imports";
const { refreshSessionContext } = useSessionContext();

onMounted(async () => {
  await refreshSessionContext();
});
</script>

<template>
  <NuxtLayout>
    <NuxtPage />
  </NuxtLayout>
</template>
<style>
@import "./style.css";
</style>
Create
pages/[...all].vueandpages/storyblok/[slug].vuefiles[...all].vue
<script setup lang="ts">
import Frontends from "../components/Frontends.vue";
</script>

<template>
  <div id="app">
    <Frontends template="Blank Vue 3 template (Nuxt)" />
    <NuxtLink to="storyblok/home">Storyblok Home</NuxtLink>
  </div>
</template>
<style>
@import "../style.css";
</style>
storyblok/[slug].vue
<script setup lang="ts">
import { createError, useAsyncStoryblok, useRoute } from "#imports";

const route = useRoute();
const slugParam = route.params.slug;
const slug = Array.isArray(slugParam)
  ? slugParam.join("/")
  : slugParam?.toString() || "home";
const story = await useAsyncStoryblok(
  slug,
  { version: "draft", resolve_relations: "Article.author" }, // API Options
  { resolveRelations: ["Article.author"], resolveLinks: "url" }, // Bridge Options
);
if (story.value.status) {
  throw createError({
    statusCode: story.value.status,
    statusMessage: story.value.response,
  });
}
</script>

<template>
  <StoryblokComponent v-if="story" :blok="story.content" />
</template>
Log into your storyblok account and create a page called home inside the content. We already linked the slug "home" inside our
[...all].vuefile.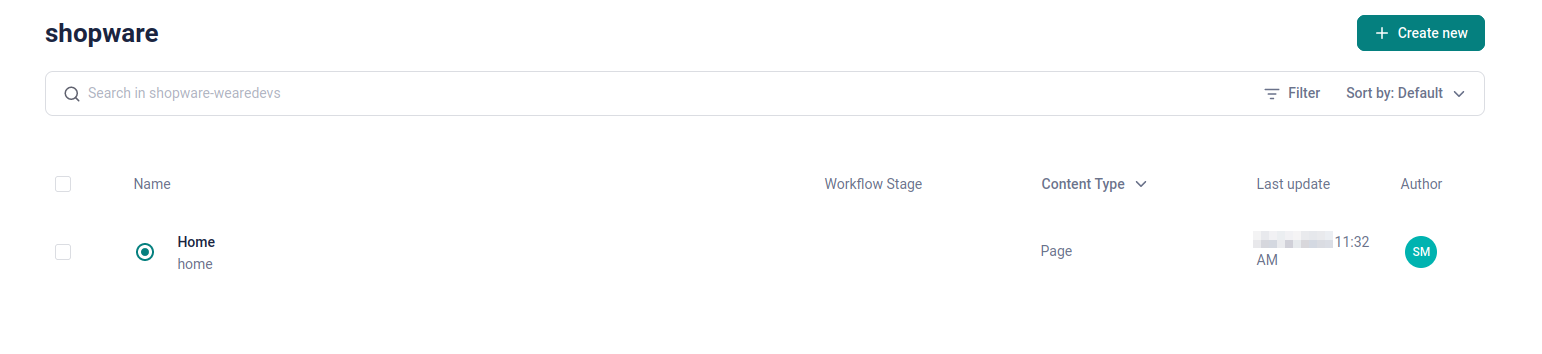
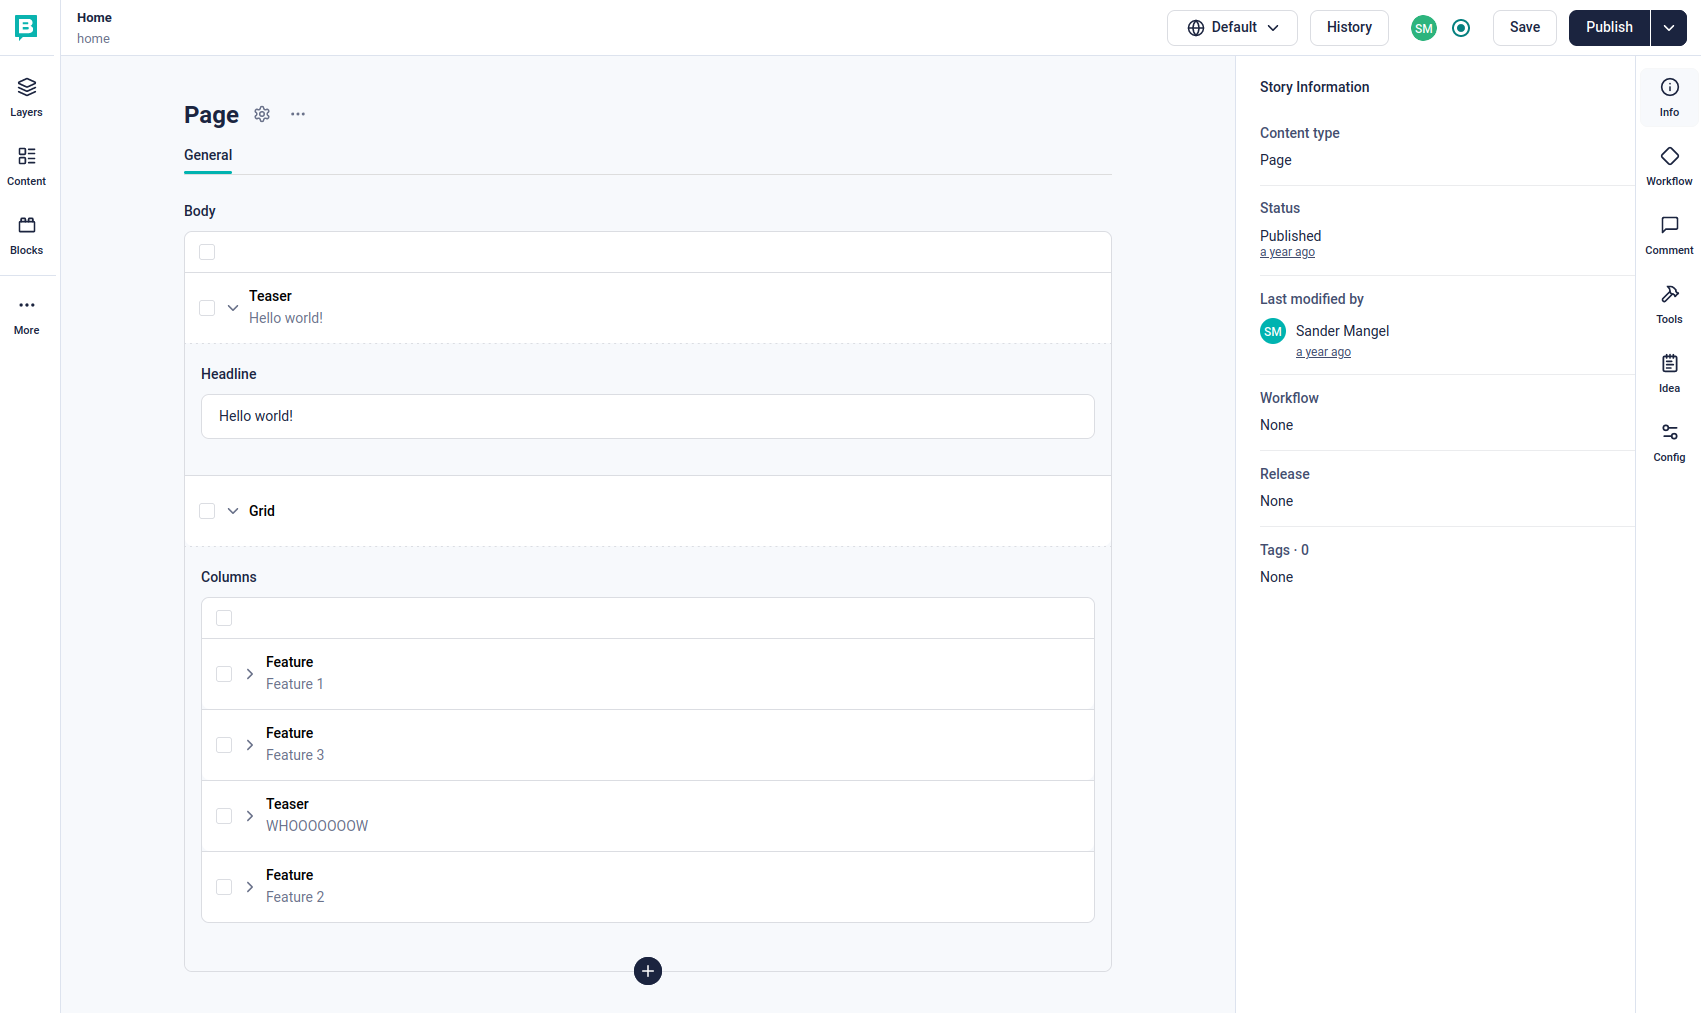
Now start you local dev server and open
http://localhost:3000/storyblok/home. You should see a page looking like the screen below.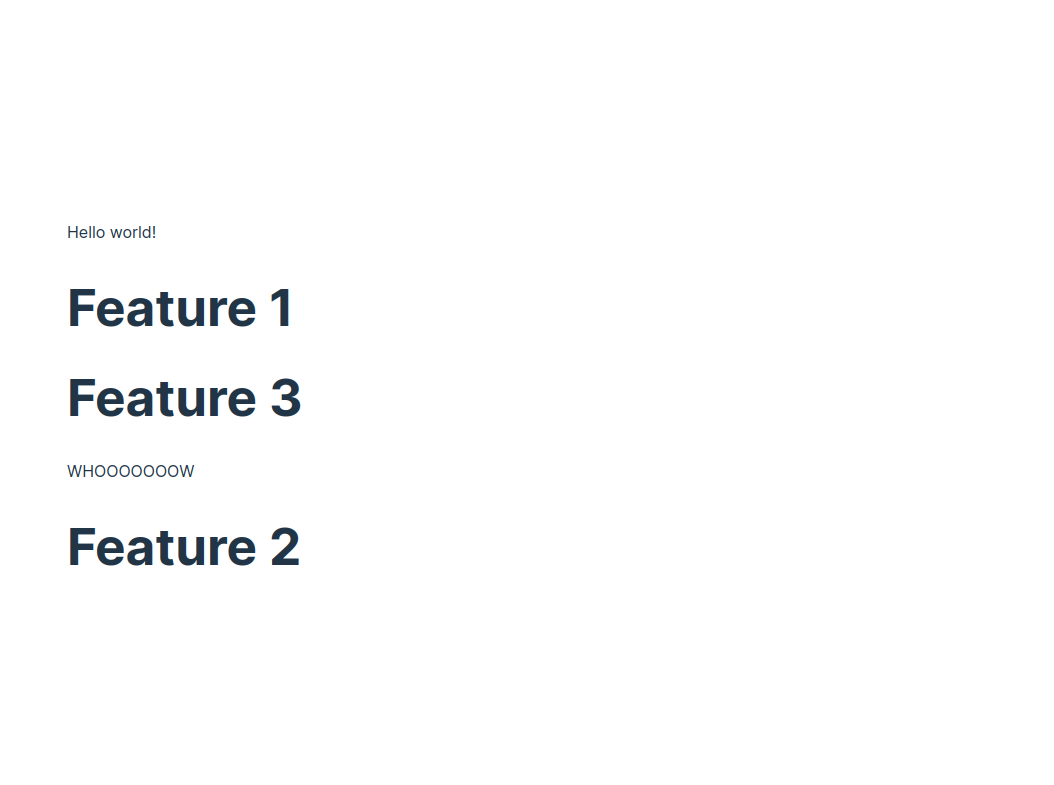
Optional: Add UnoCSS for Tailwind CSS support. We already used some Tailwind Classes in the templates.
